

Introduction
Many printing problems begin before the printing press starts.
Incorrect dimensions, missing bleed, low-resolution images, wrong colour settings and poorly prepared finishing files can create production delays or unexpected results.
For businesses working with an Offset Printing Company In Dubai, one of the best ways to improve print quality is to prepare artwork correctly before production. Label Tech UAE provides offset printing services in Dubai for brochures, catalogues, folders, packaging and other bulk print jobs.
This pre-press checklist focuses specifically on what businesses, marketing teams and designers should review before submitting files for bulk offset printing.
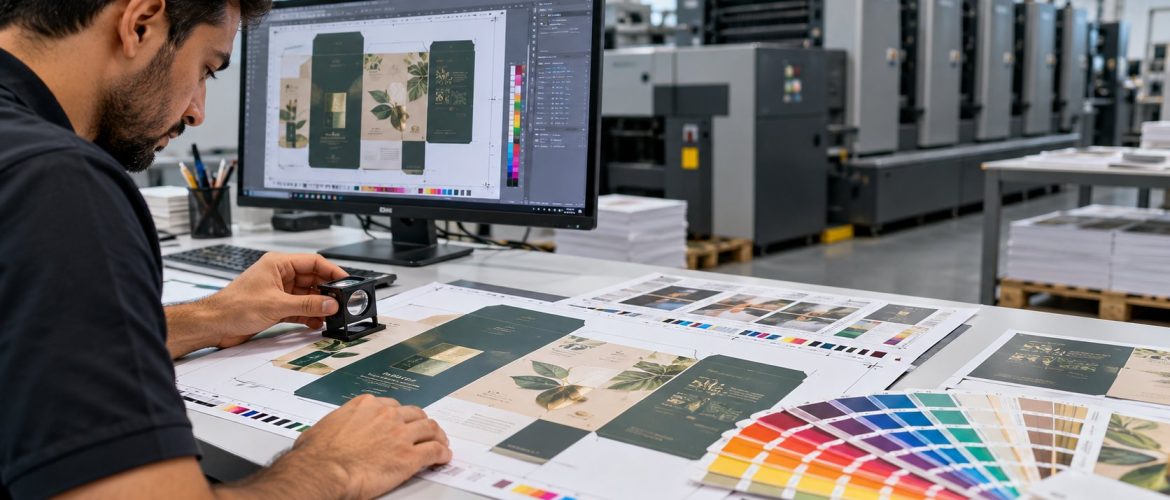
What Is Pre-Press?
Pre-press refers to the preparation and checking stage before printing begins. It can include:
- Artwork review
- File preparation
- Colour setup
- Image checking
- Bleed
- Trim
- Fonts
- Page order
- Folding
- Die lines
- Finishing instructions
- Proof approval
The objective is to catch problems before they become expensive production errors.
1. Confirm the Final Finished Size
Do not begin artwork without confirming the exact finished dimensions. Examples include:
- A4 brochure
- A5 flyer
- Custom folder
- Catalogue
- Box
- Paper bag
The finished size determines the document setup and production planning.
2. Add Correct Bleed
Bleed is artwork that extends beyond the final trim edge. It prevents unintended white edges after cutting.
Background colours and images that are intended to reach the edge should generally extend into the bleed area specified by the printer.
Always confirm the exact bleed requirement with the printing company.
3. Keep Important Content Inside Safe Areas
Text, logos and important details should not sit too close to the trim edge. Cutting has small production tolerances.
Keeping important content safely inside the trim area reduces the risk of elements appearing too close to the edge.
4. Check Image Resolution
Images that look acceptable on screen may still print poorly. Avoid:
- Screenshots
- Small web images
- Heavily compressed graphics
- Enlarged low-resolution photographs
Use high-quality source files whenever possible.
5. Prepare Colours for Print
Screen colours and printed colours are produced differently. Designers should prepare artwork according to the printing company’s colour requirements.
Pay particular attention to:
- Brand colours
- Large solid areas
- Black text
- Photographs
- Special colour requirements
6. Confirm Brand Colour Expectations
If a specific brand colour is important, communicate this before production. Provide:
- Brand guidelines
- Approved colour references
- Previous printed samples if relevant
Do not assume that a colour seen on a monitor will automatically reproduce identically in print.
7. Check Fonts
Missing fonts can create layout problems. Before sending artwork:
- Confirm all fonts are included correctly
- Check special characters
- Review line breaks
- Verify bold and italic styles
- Convert or package fonts according to printer requirements
8. Proofread Every Line of Text
Printing cannot fix content mistakes. Before approval, check:
- Phone numbers
- Email addresses
- Website URLs
- Prices
- Dates
- Product codes
- Employee names
- Addresses
- Legal information
Bulk printing multiplies every error. This applies equally to short runs such as business card printing, where a single wrong digit affects every card.
9. Check Page Order
For multi-page documents such as catalogues and brochures, confirm:
- Cover
- Inside cover
- Page sequence
- Blank pages
- Back cover
A page-order error can affect the entire job.
10. Confirm Folding Style
Brochures can use different folds. Examples include:
- Half-fold
- Tri-fold
- Z-fold
- Gate fold
The design must account for the actual folding structure. Panels are not always identical in width depending on the fold.
11. Prepare Die Lines Correctly
Products such as folders, boxes, custom-shaped cards, packaging and paper bags may require die lines.
Die lines should remain clearly separated from artwork and follow the printer’s template.
12. Mark Special Finishes
Special finishing should be shown clearly. Examples include:
- Spot UV
- Foil
- Embossing
- Debossing
- Die-cutting
The production file may require separate layers or artwork. Confirm file requirements before final export.
13. Check Black Text and Rich Black Areas
Small body text and large black backgrounds can require different print preparation. Ask the printer how black should be prepared for:
- Small text
- Large solid backgrounds
- Fine lines
Incorrect settings can reduce sharpness.
14. Verify Transparency and Effects
Design software effects such as drop shadows, transparency, blending and gradients should be checked carefully during export.
Always review the final PDF rather than assuming the original design file will reproduce correctly.
15. Check Overprint Settings
Overprint settings can affect how colours interact. Incorrect settings may cause:
- Missing text
- Unexpected colour mixing
- Invisible objects
This is particularly important for professional print artwork.
16. Confirm Paper Before Final Artwork Approval
The chosen paper can affect colour appearance, contrast, texture, image sharpness and overall feel.
Artwork that works well on coated paper may appear different on uncoated stock.
17. Match Artwork to Finishing
Finishes influence design decisions. For example:
- Foil requires sufficient detail spacing.
- Embossing may need simplified shapes.
- Spot UV works best on selected areas.
- Die-cutting needs clear clearance around cut edges.
Finishing should be planned before artwork is finalized.
18. Request a Proof
A proof provides the final opportunity to identify errors. Check:
- Page order
- Text
- Images
- Colour
- Dimensions
- Folding
- Finishing
- Contact information
Approval should only be given after careful review.
19. Name Files Clearly
Avoid vague filenames such as “final.pdf”, “final-new.pdf” and “final-latest2.pdf”.
Use a structured naming system such as Company_Brochure_A4_V3_Approved.pdf.
Clear naming reduces the risk of printing the wrong version.
20. Keep an Approved Master File
After production approval, archive:
- Approved artwork
- Printer-ready PDF
- Paper specification
- Finishing details
- Quantity
- Colour notes
- Final dimensions
This can make repeat orders easier.
When to Involve the Printer
Do not wait until the artwork is complete if the project includes:
- Complex folds
- Custom die-cuts
- Packaging
- Special finishes
- Unusual sizes
Getting technical specifications early can prevent redesign work. It also helps decide whether offset is the right process, or whether digital printing for short runs or large-format printing for banners and signage would suit the job better. The same pre-press discipline applies to printed labels and packaging artwork.
Conclusion
Working with an Offset Printing Company In Dubai becomes much smoother when artwork is correctly prepared before production.
A strong pre-press process checks:
- Size
- Bleed
- Images
- Colours
- Fonts
- Text
- Folds
- Die lines
- Finishing
- Proofs
These checks can reduce delays, rework and avoidable printing errors.
Ready to send your files? Request a printing quote from Label Tech UAE.
Frequently Asked Questions
Pre-press is the preparation and checking stage before a print job goes into production.
Bleed helps avoid unwanted white edges after printed sheets are trimmed.
Yes. Low-resolution images can appear soft or pixelated in print.
Yes. Printed errors can be repeated across the entire production quantity.
Before finalizing artwork, especially for foil, embossing, Spot UV and die-cut products.
Yes. A proof gives you a final opportunity to check content and production details.
